Tayberry Freezer Jam
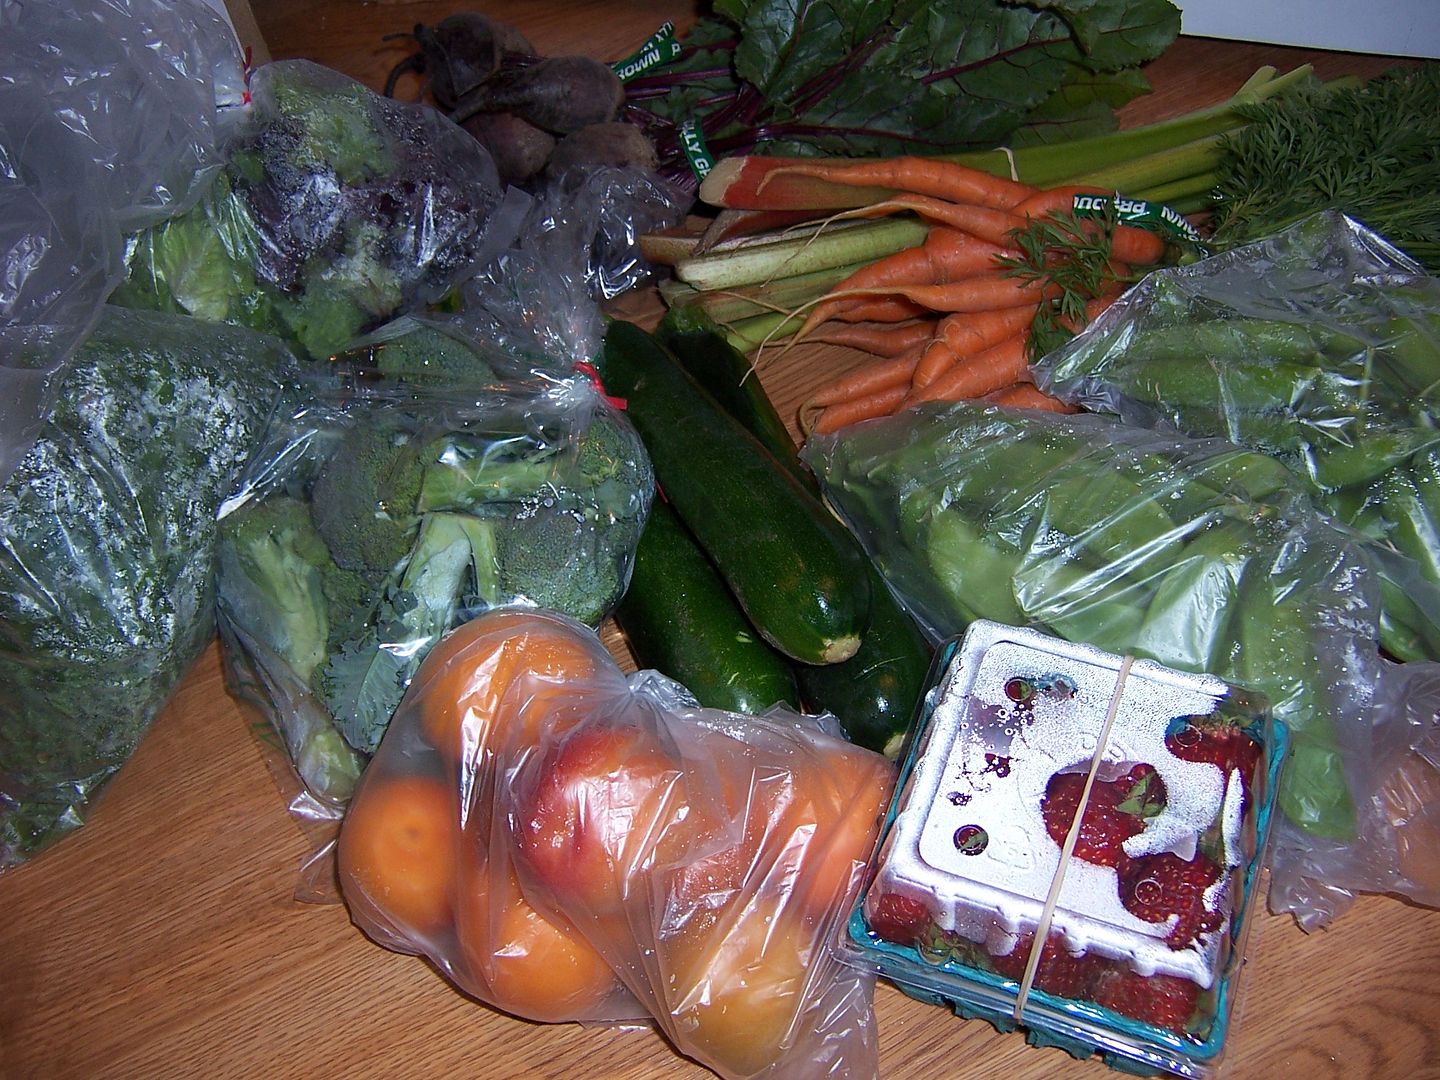
July 18, 2011 – 7:13 pmI got a half flat of just Tayberries today, as well as another half flat of the variety pack 🙂 I wanted to do something interesting with some of the berries, and the first thing that came to mind was freezer jam. I’ve never made jam before, but freezer jam seemed like an easy entry to the world of preserving.
I used the recipe in the pectin packet, just making a half batch to start. I used Sure-Jell. I only mention the brand because each brand is a little different as to what they require, and the ratios of fruit, sugar, and pectin have to be very close to what is stated on the packet’s instructions, otherwise it won’t work. They do make pectin that uses less sugar or works with artificial sweeteners, so look for that if you are so inclined.
I’ll be keeping my initial jar (I used a medium Ziploc Twist ‘n Loc, as they seem to come highly recommended for this application) in the fridge, and if it turns out well, I’ll make more and actually put it in the freezer 😛 I’ll come back tomorrow evening to update this post with how it set up. In any case, it tastes good!
Update: It set up very nicely too. I divided it in half and froze half 🙂

Tayberry Freezer Jam
Makes about 1 quart
3 cups tayberries (or raspberries, blackberries, loganberries, etc.)
535 g (2 5/8 cups) granulated sugar
25 g Sure-Jell pectin
89 ml (3/8 cups) water
Rinse the berries and drain well. Pour them in a large mixing bowl and crush with a potato masher, leaving some chunks. Add the sugar to the crushed fruit and stir to combine well. Let the fruit mixture sit for 10 minutes to macerate.
When the fruit is almost done macerating, pour the pectin and water into a small saucepan and put it over high heat. Stir constantly as the mixture comes to a boil. Let the mixture boil for 1 minute, continuing to stir. Turn off the heat.
Pour the pectin mixture into the fruit mixture and stir well until all the sugar is dissolved, and the mixture is no longer grainy, about 3 minutes.
Pour the jam into clean, tight sealing containers, leaving about 1/2 inch of room at the top for expansion. Seal the containers and let them sit at room temperature for 24 hours to let the pectin set.
Move the containers to the refrigerator for up to 3 weeks or to the freezer for up to a year.