July 22, 2008 – 6:23 pm
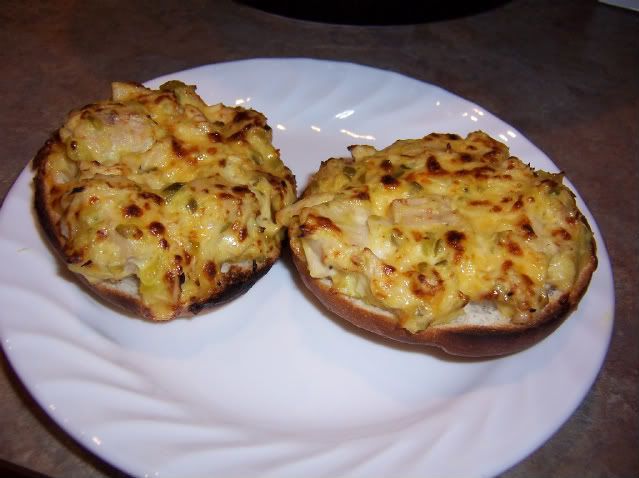
Tonight’s dinner was baked turkey chimichangas. These are a healthy way to enjoy a great Mexican treat. Sometimes I make a quick green chile sauce to go on top, but tonight we just wanted them plain. If you can find them, get Tortillaland uncooked tortillas. I get mine at Costco. They are sold online at Mexgrocer. These tortillas are amazingly good! I also use them for burritos, baked egg rolls, mini pizzas, homemade chips, and tons more. They’re a little bit smaller in diameter, so you’ll end up with about 6-8 chimichangas.
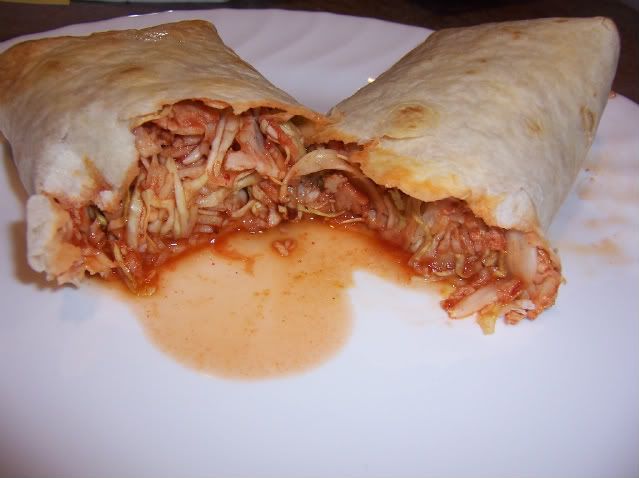
Baked Turkey Chimichangas
Makes 4 servings
Ingredients:
1 lb thickly sliced mesquite smoked turkey from the deli counter
10 oz bag of thinly sliced cabbage
1-3 chiles in adobo (1 for mild, 2 for medium, 3 for spicy)
1 tablespoon chili powder
1 8 oz can of tomato sauce
Salt and pepper
4 12-in (burrito size) tortillas
Non-stick cooking spray
Pre-heat the oven to 425 degrees and line a baking dish with foil. Spray the foil with non-stick spray.
Cut up the turkey slices into strips with a pair of kitchen shears and put into a large mixing bowl. Finely chop the chiles in adobo. You can find these in the Mexican aisle of your grocery store. They come in a can with 10 or so of them, but you can easily freeze the rest and just scoop out what you need for future recipes. Mix the chiles in with the turkey until it looks evenly coated. Add the tomato sauce, chili powder, and salt and pepper to taste. Stir gently until everything is evenly coated. Add the cabbage and toss to combine.
Divide the filling into four equal parts and fill each tortilla in a wide strip down the middle. Fold in the ends, roll them up, and place them in the baking dish seam side down. Spray the tops and sides of the tortillas with more non-stick spray. Bake the chimichangas for 20 minutes or until they’re pretty golden brown and crunchy on the outside. If you get the uncooked tortillas, it will take closer to 30 minutes.
Nutritional Information Per Chimichanga
| Calories |
305 |
| Fat |
6 g |
| Saturated Fat |
1 g |
| Cholesterol |
40mg |
| Sodium |
1631 mg |
| Carbohydrates |
33 g |
| Fiber |
2 g |
| Protein |
29 g |
| Vitamin A |
31% |
| Vitamin C |
55% |
| Calcium |
6% |
| Iron |
20% |
Posted in Food, Mexican, Poultry | 1 Comment »